This week’s guest article is brought to you by Dan Barr – a photographer and the founder of Kids Camera Guide. Those of you who have been reading along know how much I love photography, so I’m very happy to have Dan’s professional advice on how photography can help you connect with your child.
5 FIRST STEPS IN TEACHING PHOTOGRAPHY TO YOUR KID

In this stress-filled world, we barely get time to spend with our kids. Teaching your child a skill or an activity which will help them in the future is an excellent way to bond with your child – and also spend quality time while making sure that you increase their confidence and help them become the best version of themselves.
Photography is an excellent skill that you can teach your child. You get to spend quality time with your child and teach them something along with enjoying the time they spend learning photography. Plus, itt helps your child in many ways:
- It helps them connect with nature.
- It helps increase their confidence.
- It helps them make new friends.
- And it could change in the future from a hobby to a passion and even a profession.
Many questions arise in our mind when we decide to teach our children photography.
- Where should you start?
- How can you start?
- What are the things that you need to keep in mind when you teach your child photography?
Let me share with you the first five steps that you need to use to teach your kid photography.
Before we start, a very important thing to keep in mind is that learning photography is an enjoyable experience for your child. Teaching your child anything new is a fantastic way to bond with your child and you should use this opportunity to do so.
Let’s get started.
1: BUY A CAMERA AND A CAMERA CASE

Even though the price of a camera has fallen a lot over the past few years, make sure that you buy the most relevant camera for your child. You can decide on either buying a Polaroid camera or a digital camera or even a toy camera.

The most important thing is that you buy a new camera for your child and not give them your camera to use. When you buy a new camera and give it to your child, the gesture gives them a sense of ownership which they don’t get when they use your camera. You also need to keep in mind that children tend to drop things. So it makes sense that you buy a sturdy camera case in which your child can keep the camera safely so that they don’t accidentally drop it.
2: HOW TO USE THE CAMERA
The next step is to teach your child how to use the camera:
- how to hold it
- where exactly to place their finger
- how to balance the camera to ensure that it does not fall but also focus and click good photographs
You can teach them how to use the strap. You can do so by either demonstrating it by using the strap yourself or by putting it on their wrist or around the neck. This is very important to teach your child how to use the camera safely.
If your camera’s lens comes with a cover, then you need to teach your child how to remove the cover before they shoot and how to put it back after they complete the photography session.
 If you are using a kids Polaroid camera, which I would advise, you need to explain to your child not to touch the photo until the photo is fully processed. The advantage of a Polaroid camera is that your child gets an immediate hard copy of the photograph which gives them an incentive to click more photographs and increases their interest in photography.
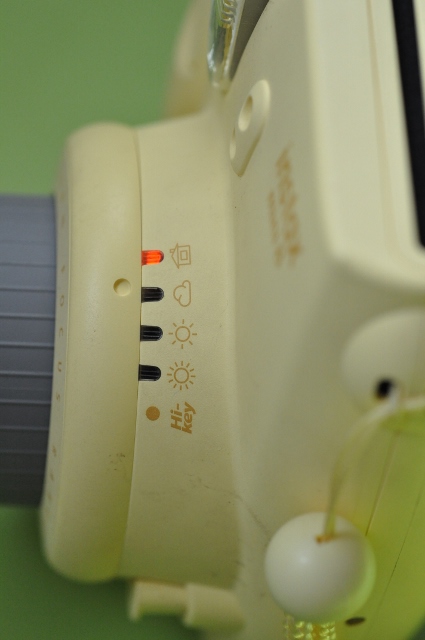
3: BASIC CAMERA PARTS
Show your child the parts that are in a camera that they would need to use. Explain the main function and the purpose of each part.
 You can start with the power switch as that is the easiest. You can then go on to the lens, the shutter release button, the viewfinder, and the main body. Finally, you can explain to them the concept of the mode dial, zoom control, flash and the other control buttons that are on the camera.
4: STEADYING THE CAMERA
When your child starts clicking photos, the first photos that they will click generally will come out very blurred as their hands may shake. When they start seeing this, they might get frustrated and disinterested.
If this happens, you can teach them to hold the camera with both hands. You can guide your child to hold the camera close to their body. When the camera is close to the body, it gets the support of the body and the steadiness increases. You can show your child how they can click the photographs by placing their elbows on a flat surface like a table. This also helps if the camera is too heavy for them or it takes time to focus. You can even buy a tripod for your kid so that the camera is steadier.
5: FOCUS ON ONLY ONE SUBJECT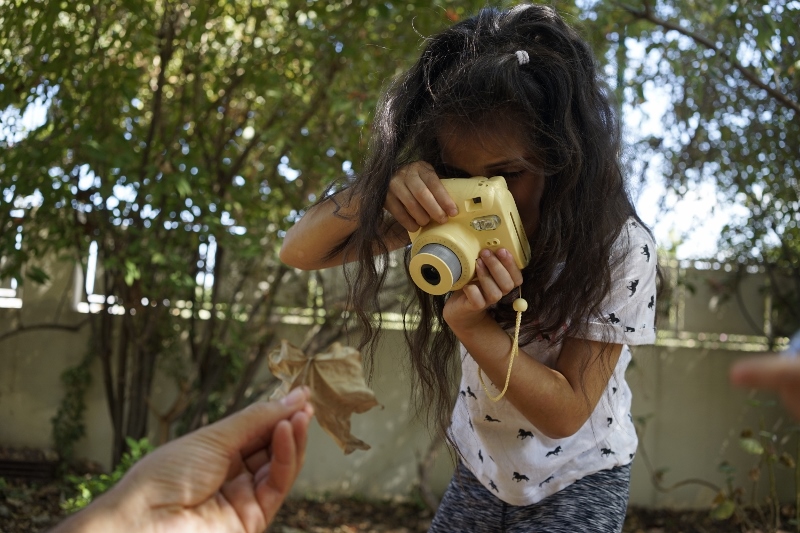
If your child’s attention is low, any small object can distract them. In addition to that, we have the tendency to take in as many objects as possible in one frame. Explain to your child that they can:
- First look at just one subject.
- Then fill the frame with that subject.
- Then consider the shooting angle and the light.
- Then click the photo.

Conclusion
Teaching your child photography is a very interesting and enriching experience for your child and you. It will help you bond with your child and allow them to explore the world through a lens. Viewing the world through a lens gives your child a very different perspective of their surroundings. I hope you enjoyed this post on the five first steps of teaching photography to your kids.
ABOUT THE AUTHOR
Dan Barr is a photographer, a parent to two girls, and the founder of Kids Camera Guide – a blog which is all about teaching photography to kids and kids cameras. You can visit Dan at his website www.KidsCameraGuide.com or connect with him on Facebook or Pinterest.


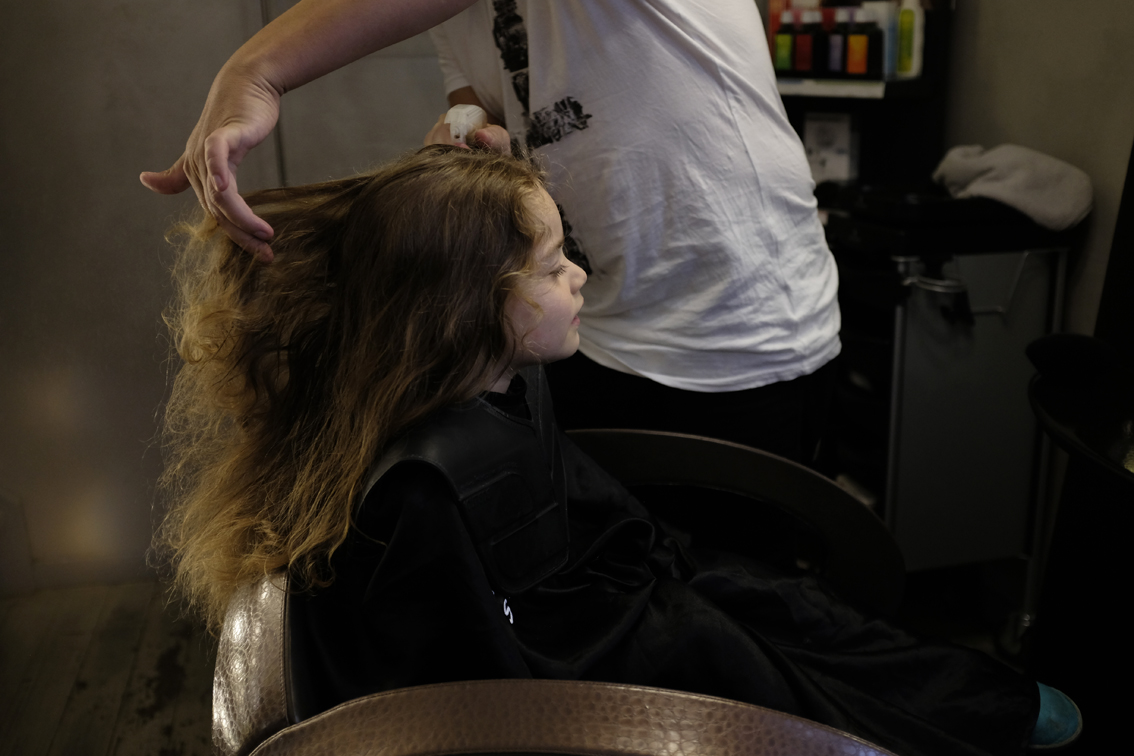
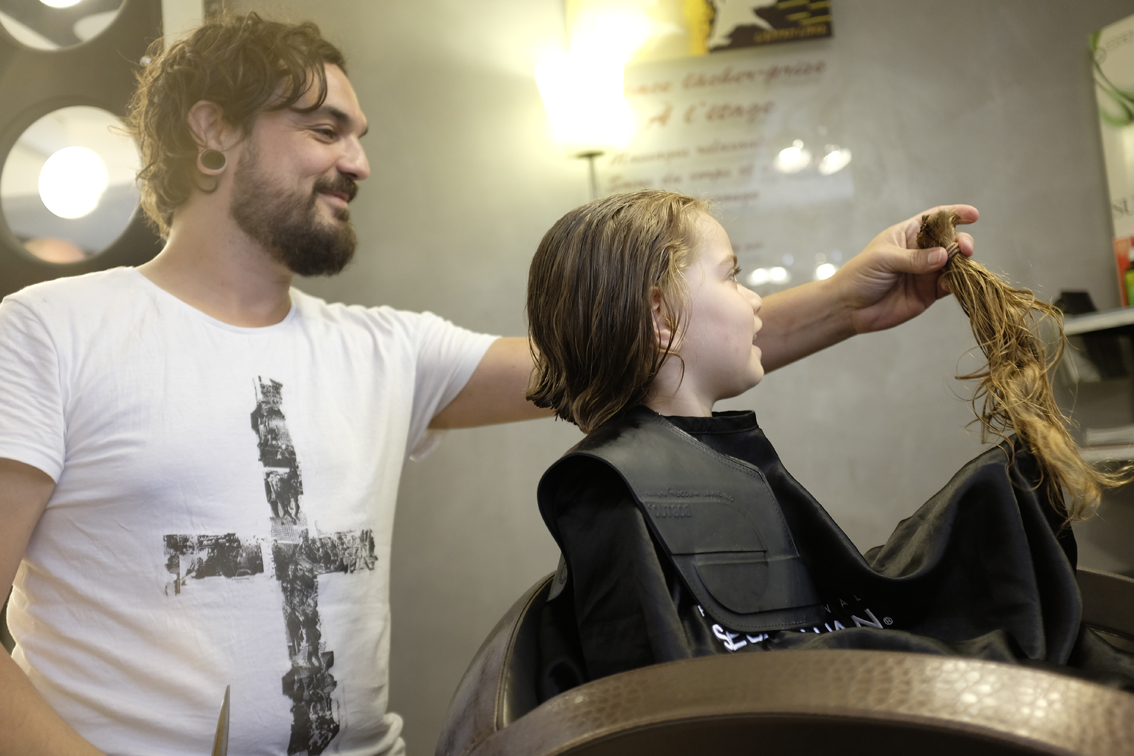


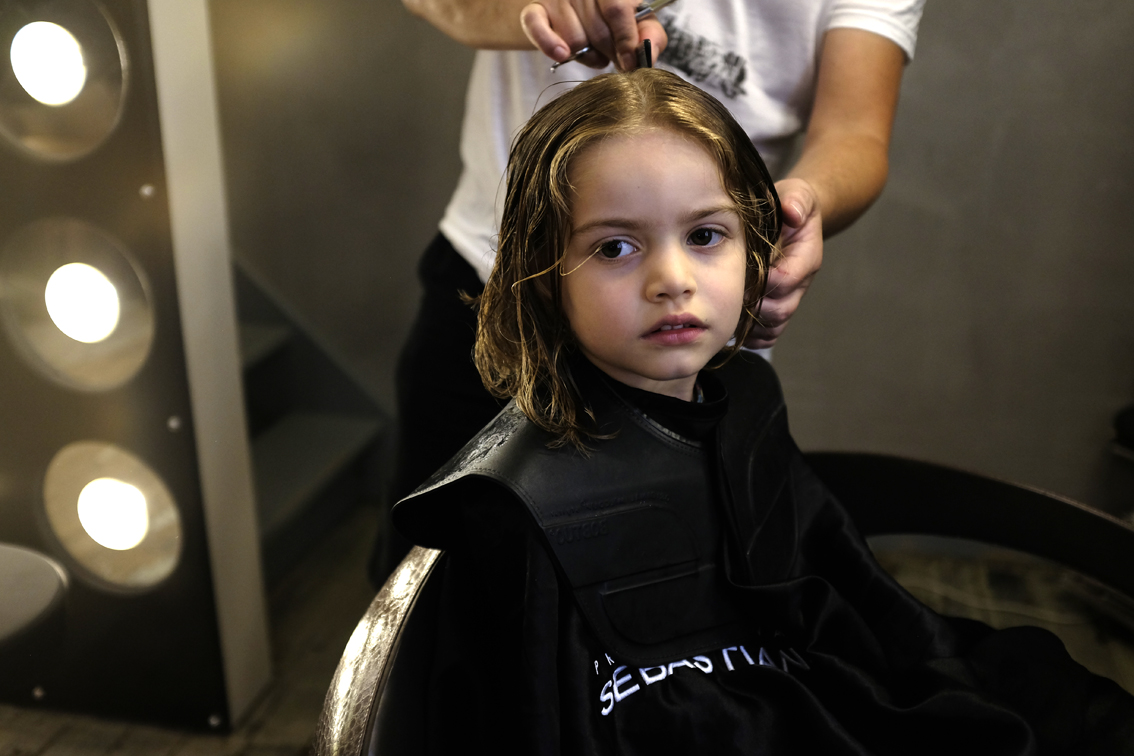


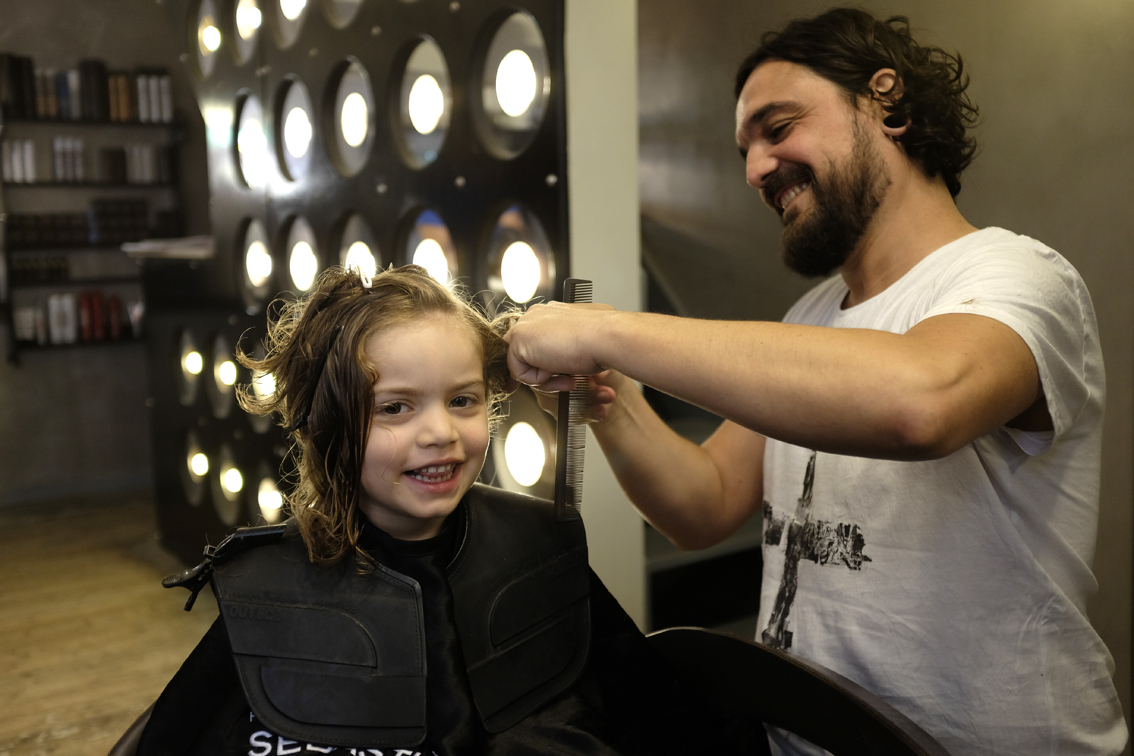 Hidden in a 13th century building, the salon’s atmosphere was relaxed, friendly and stylish in a laid-back fashion. I am not affiliated with this salon in any way, but recommend it highly as we had such an amazing experience!


 and “
and “


 Ride on a line. It can be painted lines of the road, or your child can create a trail of leaves to ride on. In the photo below Adèle is riding on a line created by beautiful spring flowers which fell from a tree.


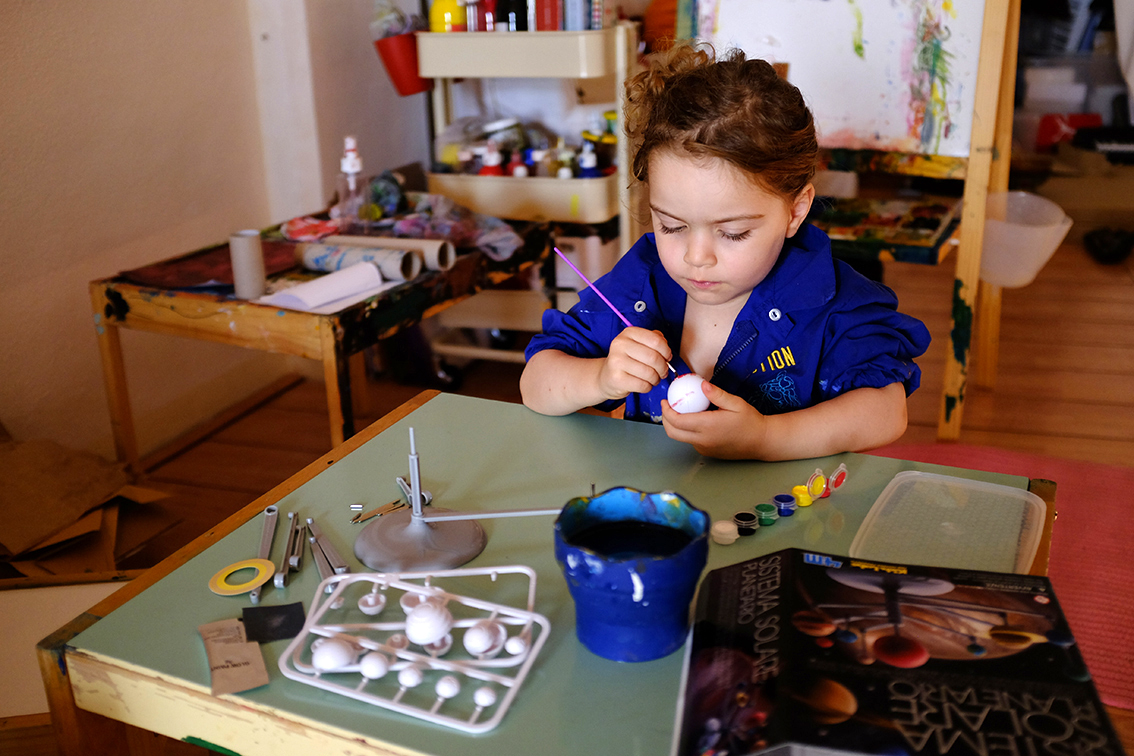
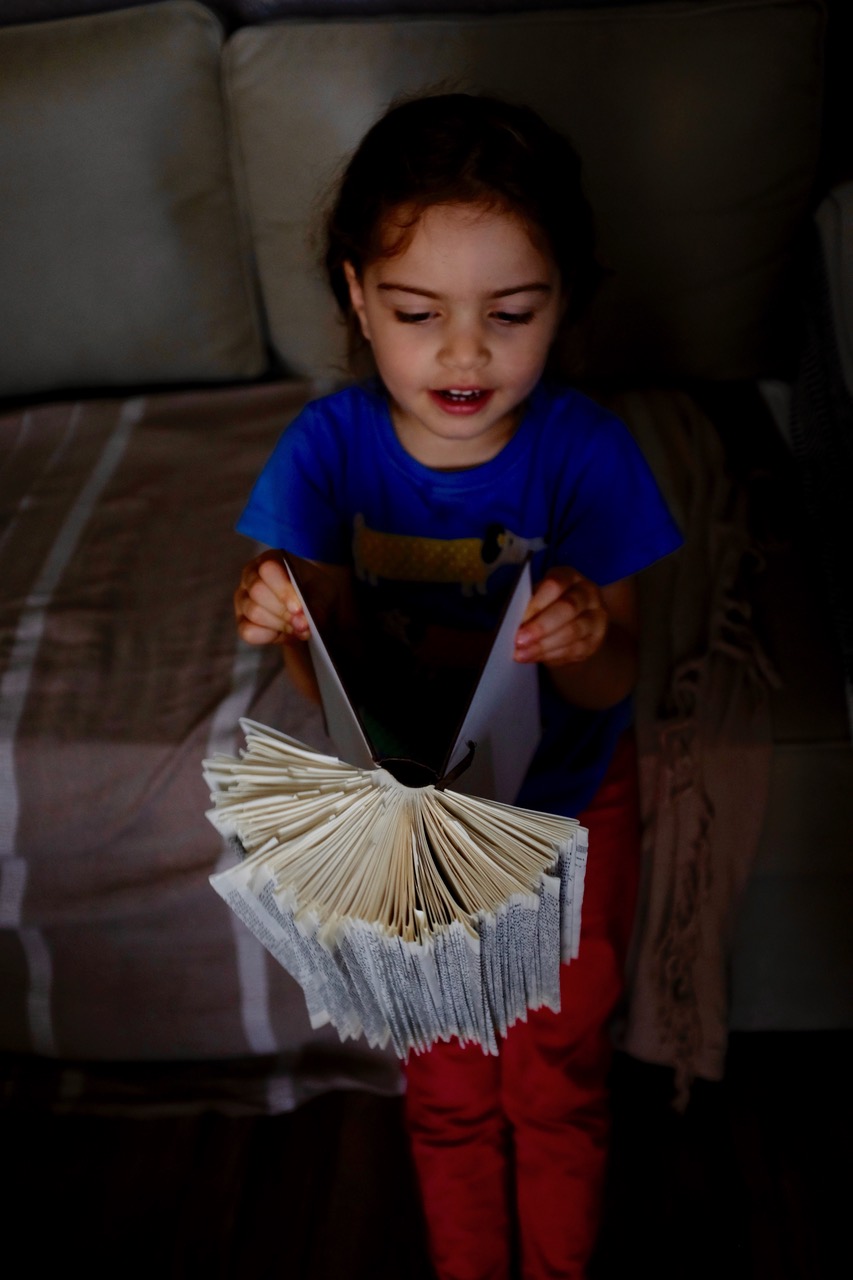
 I saw this video installation at the Rubin Museum of Art in New York City years ago and it made me realize how mind boggling the concept and vastness of space really is. It is difficult enough for an adult to comprehend. So, how do you explain it to a small child without resorting to watching films?


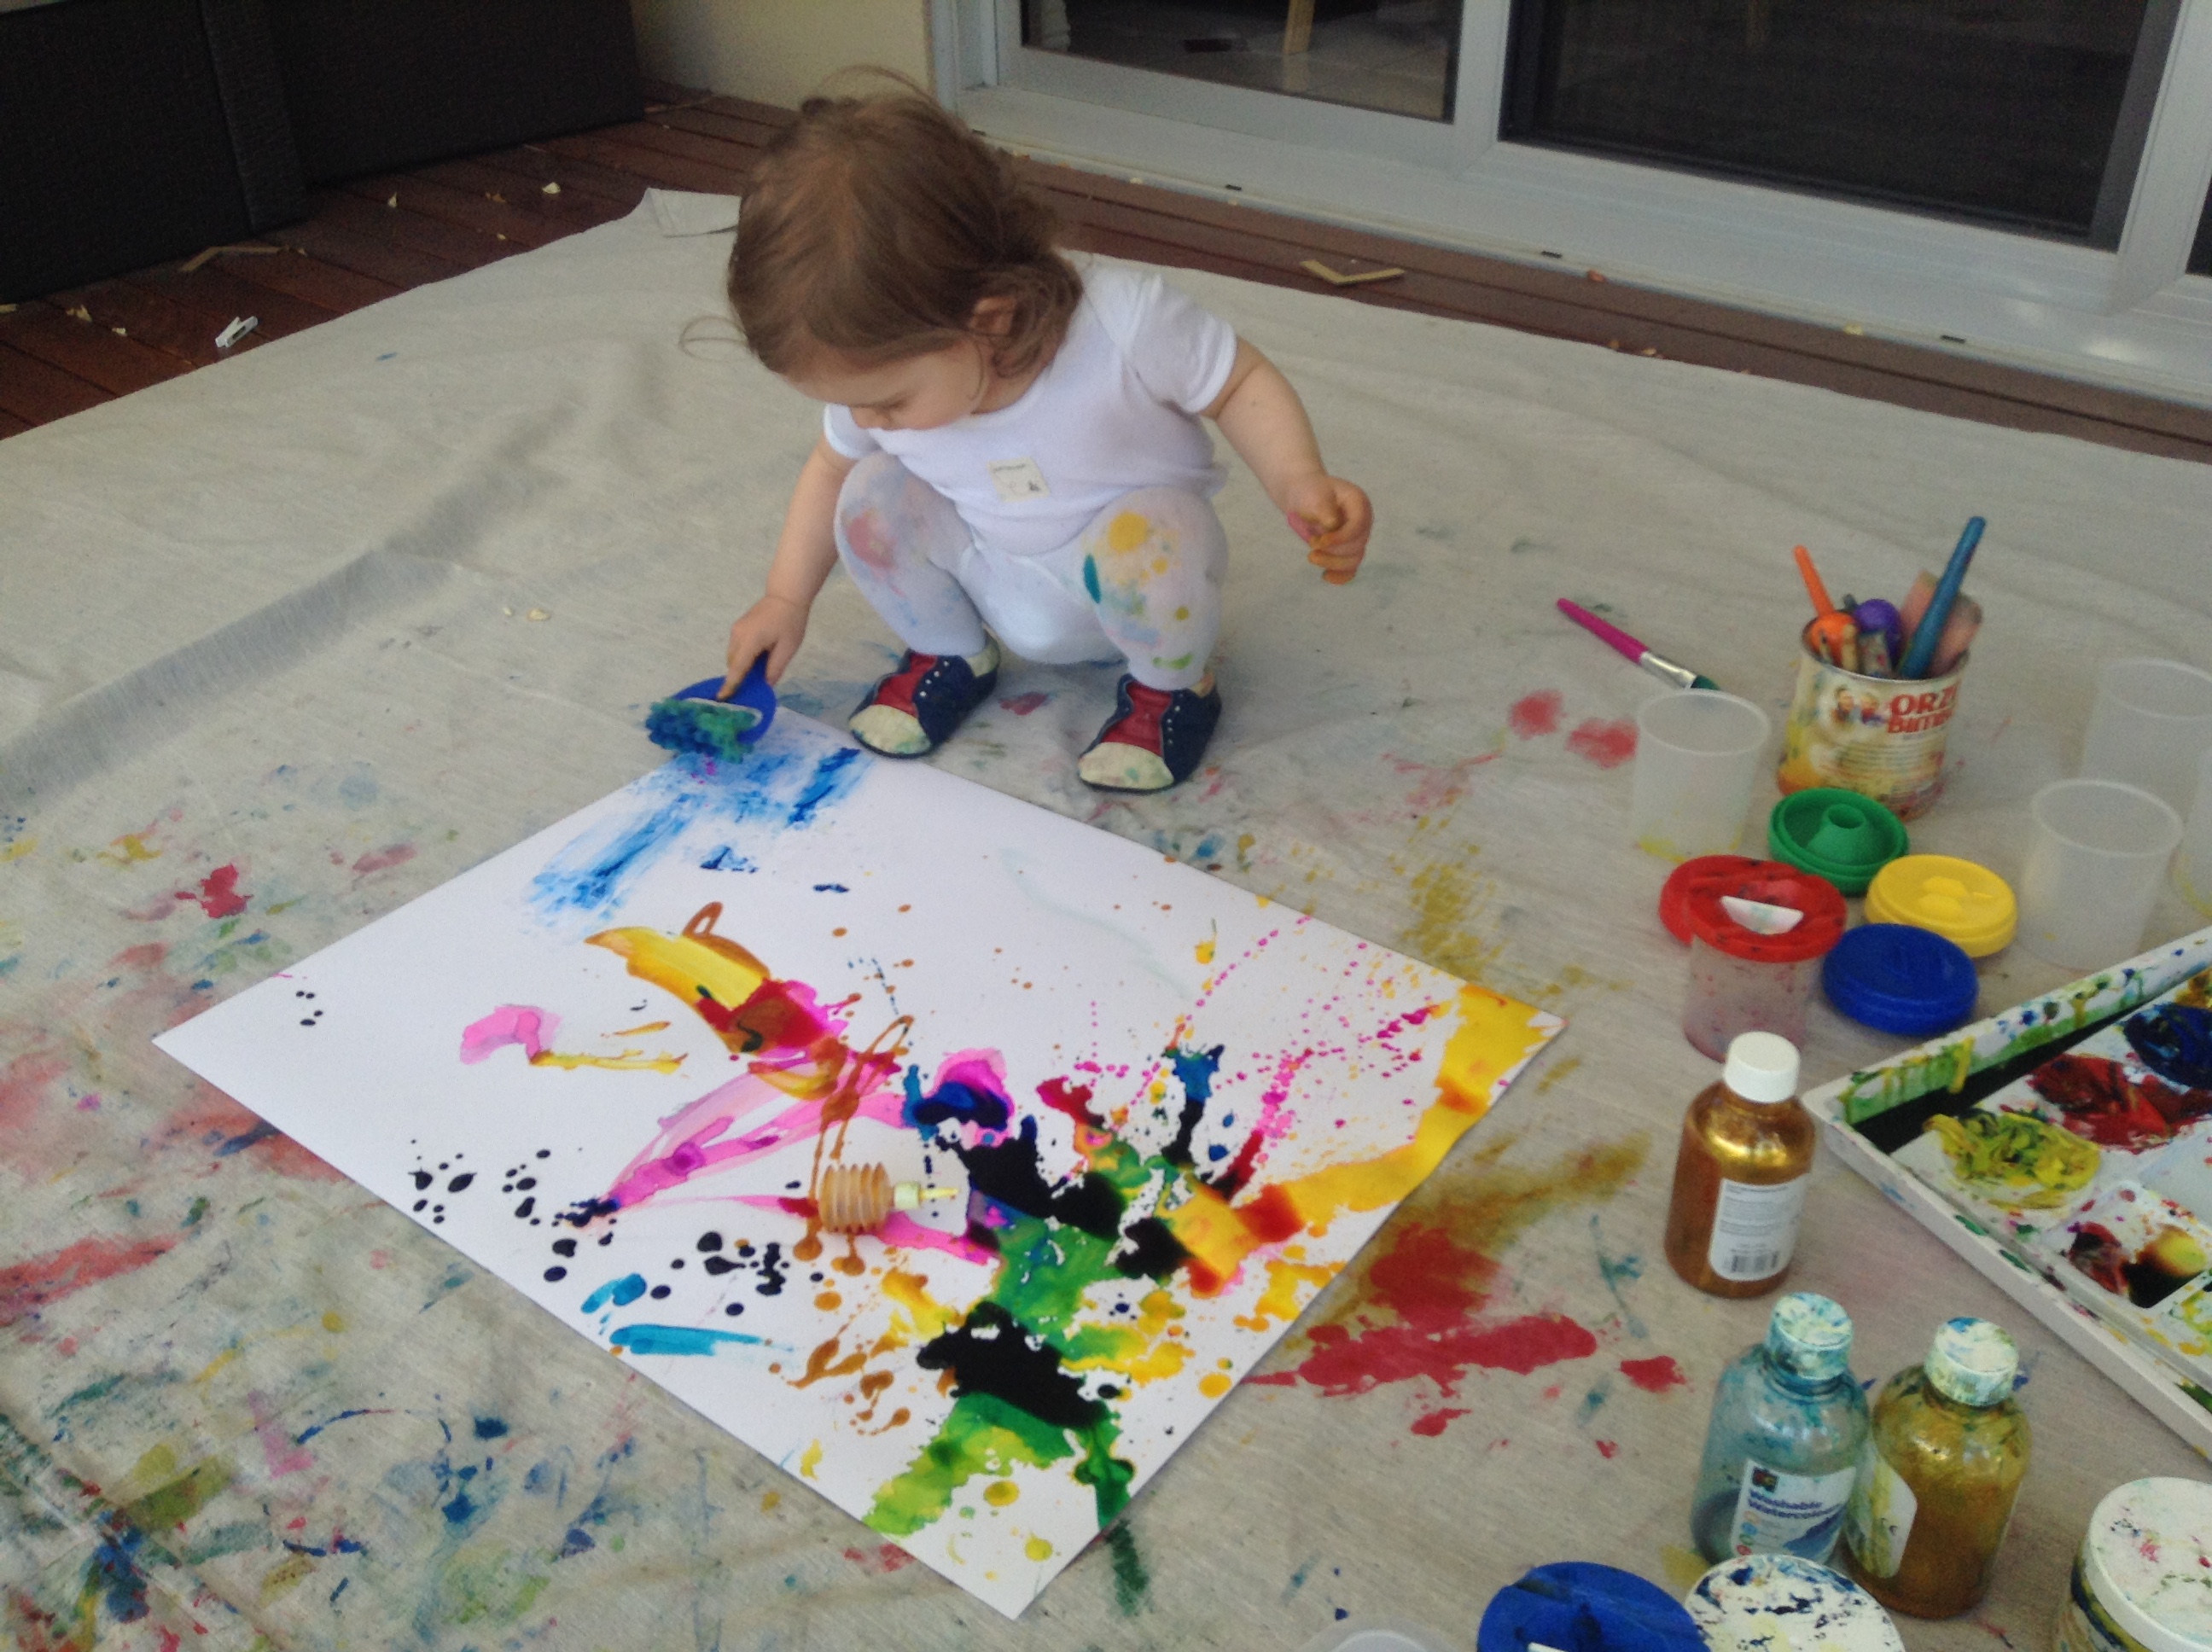
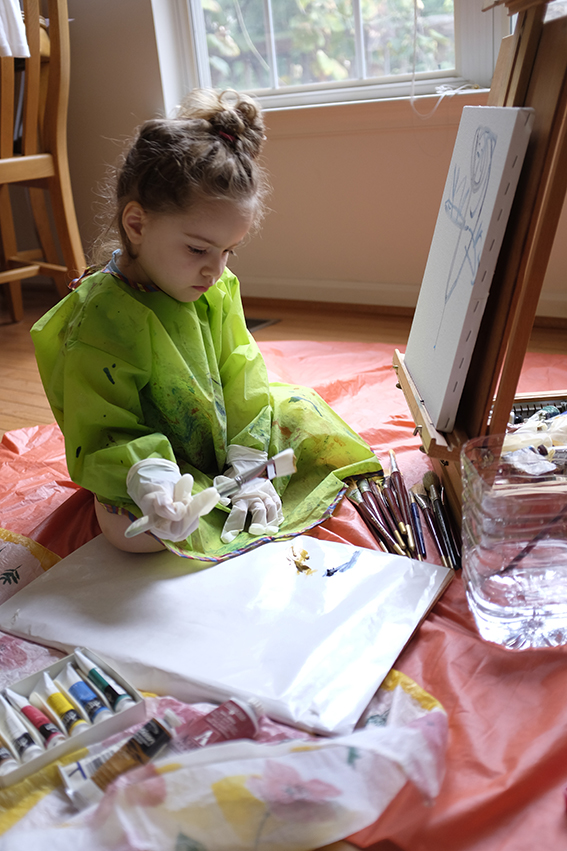
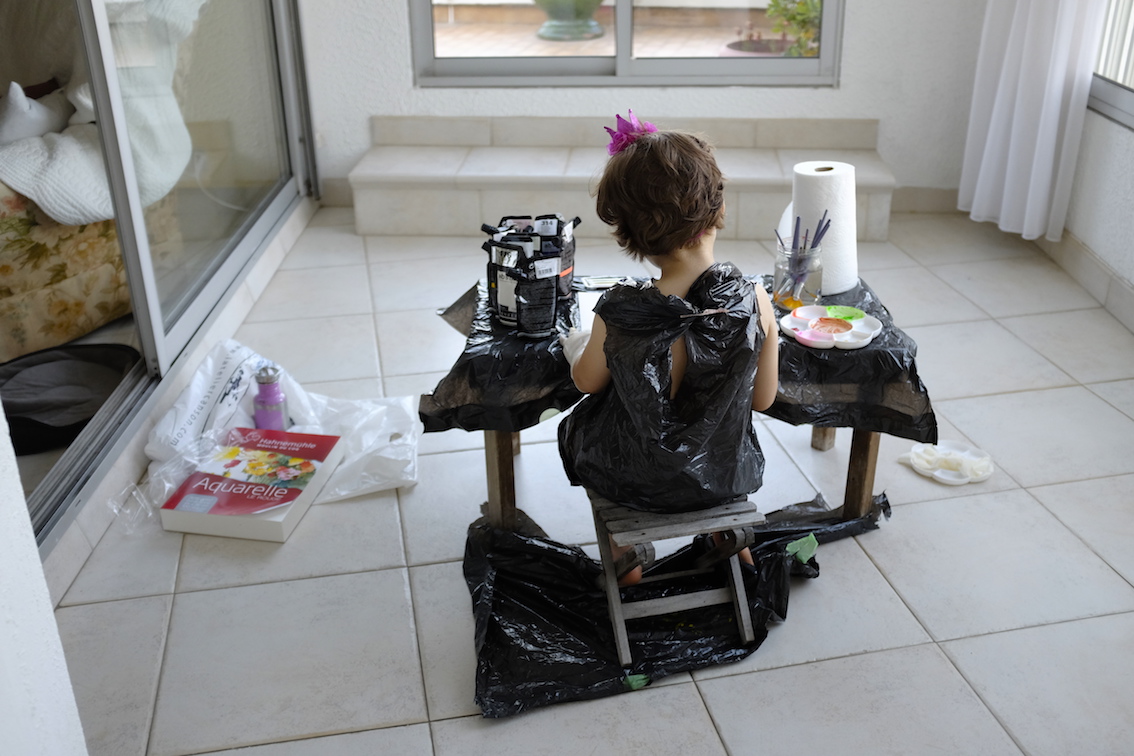
 NON-TOXIC, NATURAL & ORGANIC ART SUPPLIES FOR KIDS


 This is 100% Adèle’s idea which she stumbled upon while playing. One day she asked me to help her make playdough. We mixed the following ingredients together:
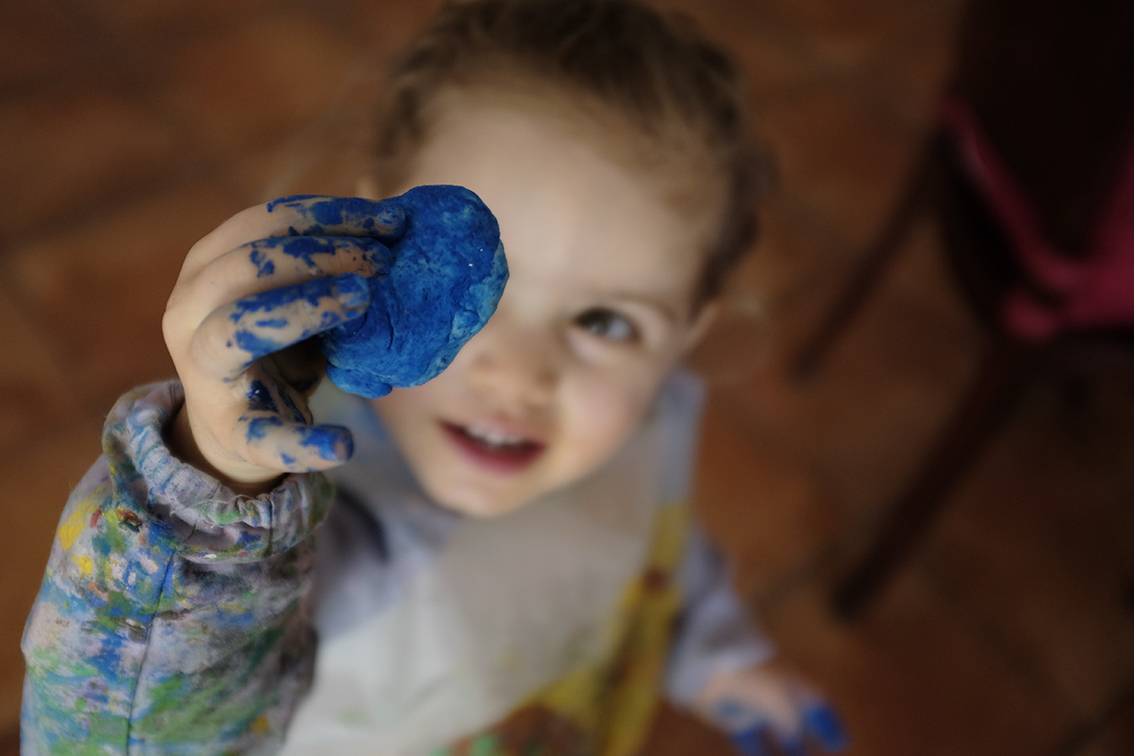 Did you try Adèle’s recipe? How did it work out for you? Remember to tag me on Instagram as @Rainy.Day.Sunny.Play and use the #Rainy.Day.Sunny.Play hashtag. We love seeing your creations!
 SUNSHINE BLOGGER AWARD: Most Inspirational Parenting Blogs


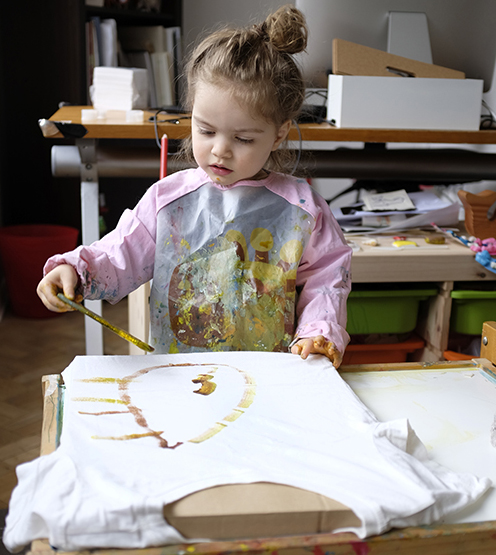
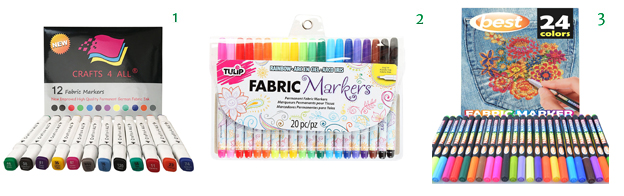

 Here is a long-sleeve shirt that Adèle designed for her grandma. For this one she used the

